Configuring HTTPS Proxies on macOS with SSL Certificates
Want to monitor and debug encrypted web traffic on macOS? Here's how you can set up HTTPS proxies with SSL certificates for secure and seamless traffic analysis.
- Why HTTPS Proxies? They intercept encrypted traffic for debugging, monitoring, and secure browsing.
- Role of SSL Certificates: SSL certificates enable HTTPS proxies to decrypt and inspect encrypted traffic while maintaining security.
- macOS Challenges: macOS requires explicit certificate trust settings via Keychain Access and blocks SSL interception for Apple services.
- Quick Setup Options:
Key Steps:
- Create SSL Certificates: Use mkcert or OpenSSL to generate trusted certificates.
- Trust Certificates: Import and configure trust settings in macOS Keychain Access.
- Set Up Proxy: Configure HTTPS proxy settings through macOS Network Preferences or Terminal.
- Test Your Setup: Verify traffic interception using tools like
curlor ReqRes.
By following these steps, you can securely monitor encrypted traffic and debug network issues on macOS without compromising security.
Creating a Local SSL Certificate Authority
If you're working on macOS and need trusted SSL certificates for HTTPS proxies, setting up a local Certificate Authority (CA) is a practical solution. A local CA acts as your private certificate issuer, allowing you to create SSL certificates that your system recognizes as trusted. This eliminates those annoying browser warnings and is especially useful in development environments where HTTPS functionality is required without the hassle of obtaining certificates from public authorities.
The process involves three main steps: creating a root certificate and private key, marking the root certificate as trusted on your devices, and using the CA to sign certificates for specific domains or IP addresses. Once set up, your local CA can issue certificates for any domain you need, tailored to your development needs.
Using mkcert for Local Certificates
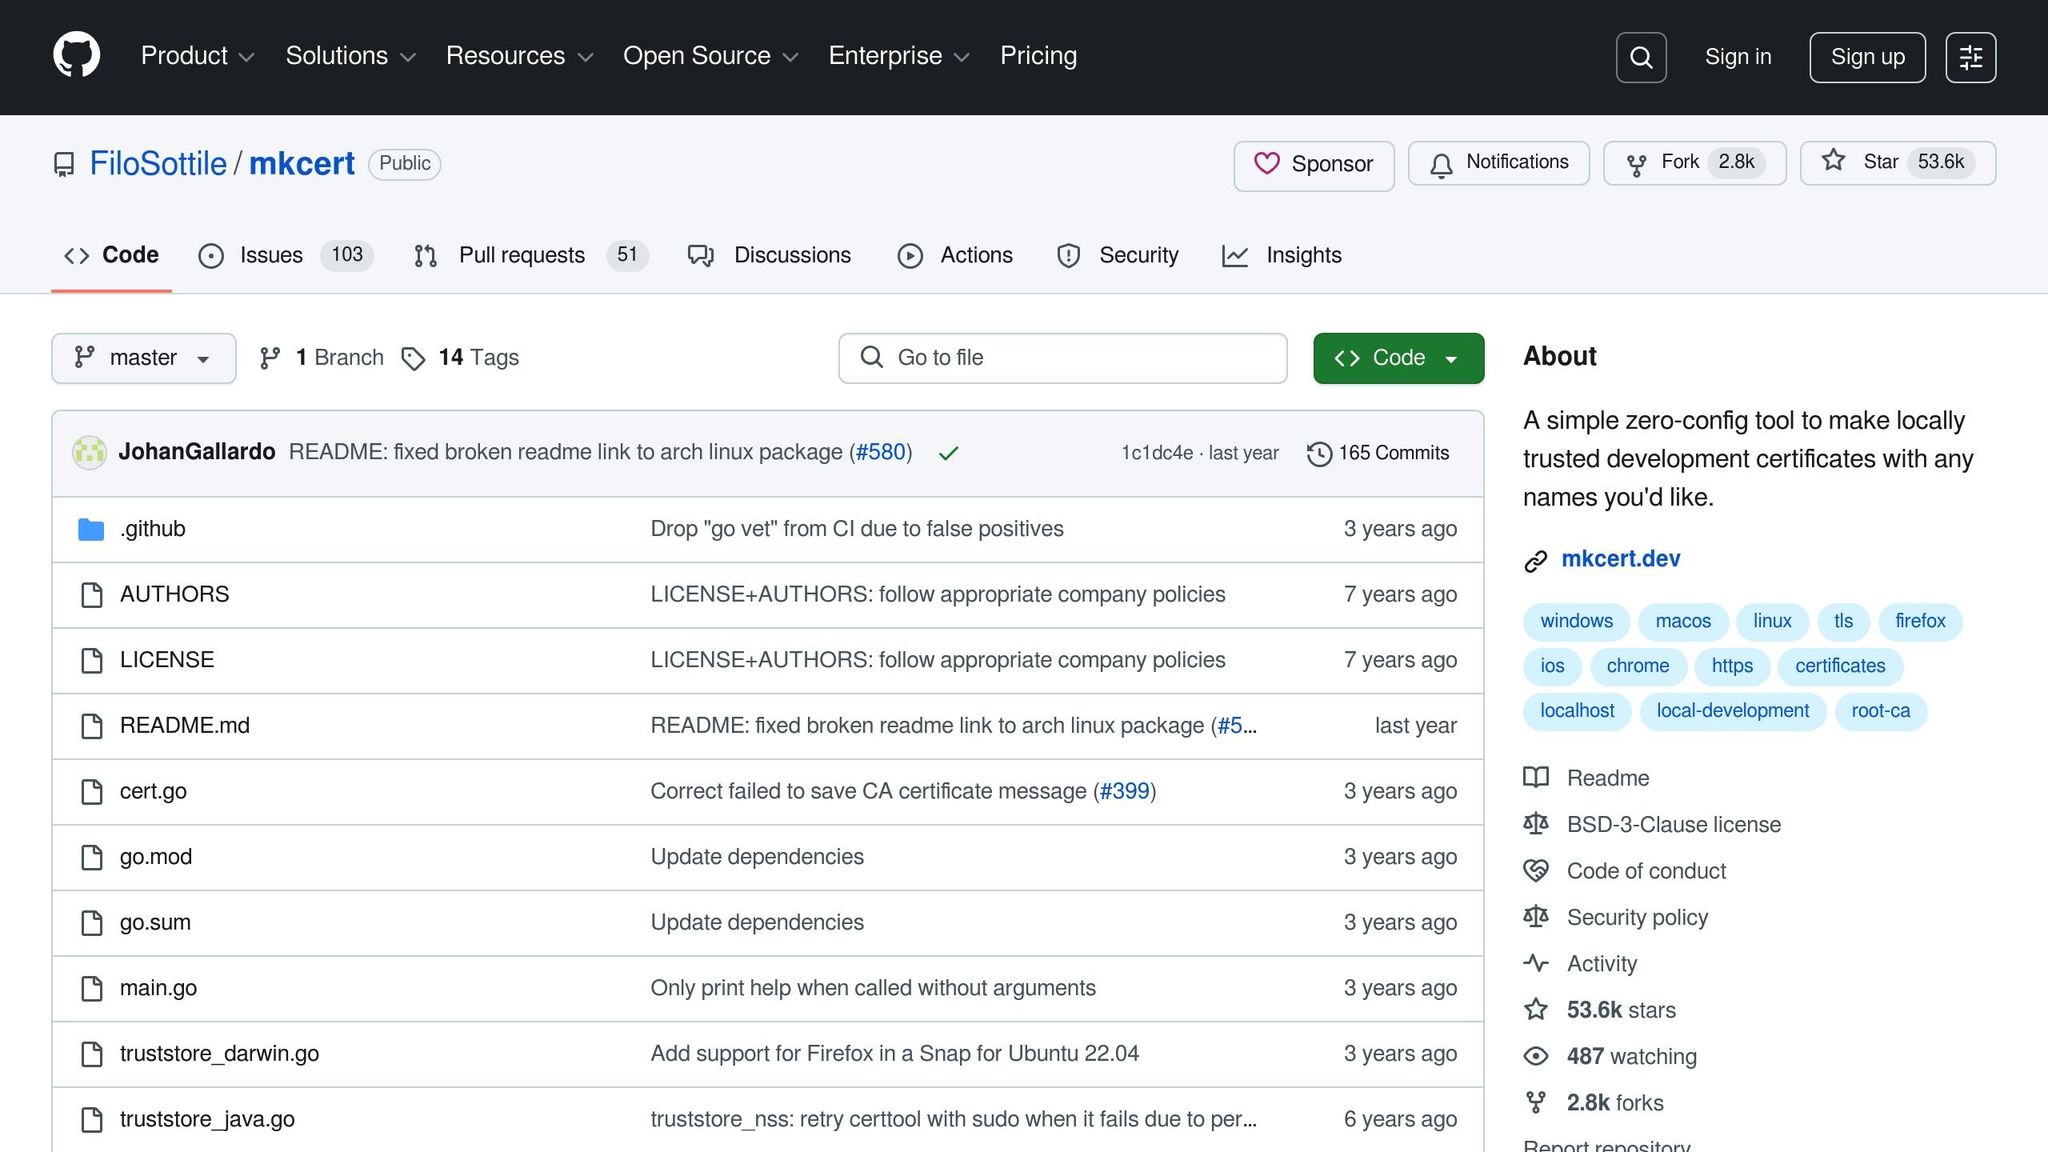
For developers looking for a quick and easy way to generate local certificates, mkcert is a fantastic tool. It simplifies the process, requiring minimal configuration, and is perfect for enabling HTTPS without diving into the complexities of certificate management.
You can install mkcert using Homebrew with this command:
brew install mkcert
If you're testing in Firefox, you'll also need to install Network Security Services (NSS):
brew install nss
Once installed, you can create and install your local CA with a single command:
mkcert -install
This command generates a root certificate and automatically adds it to your macOS keychain as a trusted certificate. From there, creating certificates for your domains is straightforward. For instance, to generate certificates for multiple domains and IP addresses, you can run:
mkcert example.com "*.example.com" localhost 127.0.0.1 ::1
mkcert takes care of setting up the local CA in the system root store and works seamlessly with macOS and browsers like Firefox, Chrome, and Chromium. If you need more granular control, though, you might prefer the manual approach using OpenSSL.
Manual Certificate Generation with OpenSSL
For those who want complete control over certificate creation, OpenSSL is a powerful alternative to mkcert. While it requires more steps, it lets you customize every aspect of your certificates and CA setup.
Start by generating a private key for your certificate authority:
openssl genrsa -des3 -out myCA.key 2048
The -des3 flag ensures your private key is password-protected, safeguarding it from unauthorized use.
Next, create your root certificate with this command:
openssl req -x509 -new -nodes -key myCA.key -sha256 -days 1825 -out myCA.pem
This generates a root certificate valid for five years. During the setup, you'll be prompted to provide details about your CA. Make sure to use a clear and identifiable Common Name for your CA.
Keep in mind that modern systems and browsers require RSA keys to be at least 2048 bits, so always use keys of this size or larger for compatibility.
Automated Certificate Setup with ReqRes
If you prefer an automated approach, ReqRes simplifies the entire process of creating and installing SSL certificates for HTTPS interception. When you enable HTTPS monitoring in ReqRes, it generates the required certificates and configures them for optimal compatibility with macOS security standards.
This automation saves you from common setup headaches, like dealing with browser errors caused by untrusted self-signed certificates. With just one click, ReqRes handles everything: CA management, trust chain configuration, and keychain integration. It ensures that your certificates meet macOS security requirements and work seamlessly with HTTPS proxy configurations.
ReqRes is particularly useful if you're setting up HTTPS proxies and want to avoid the manual steps involved in certificate management. It’s a great tool for streamlining your workflow while maintaining high security standards.
Setting Up HTTPS Proxy Settings on macOS
If you're ready with your SSL certificates, the next step is configuring macOS to route HTTPS traffic through your proxy server. macOS provides several ways to do this, ranging from a straightforward graphical interface to more advanced command-line tools for precise adjustments.
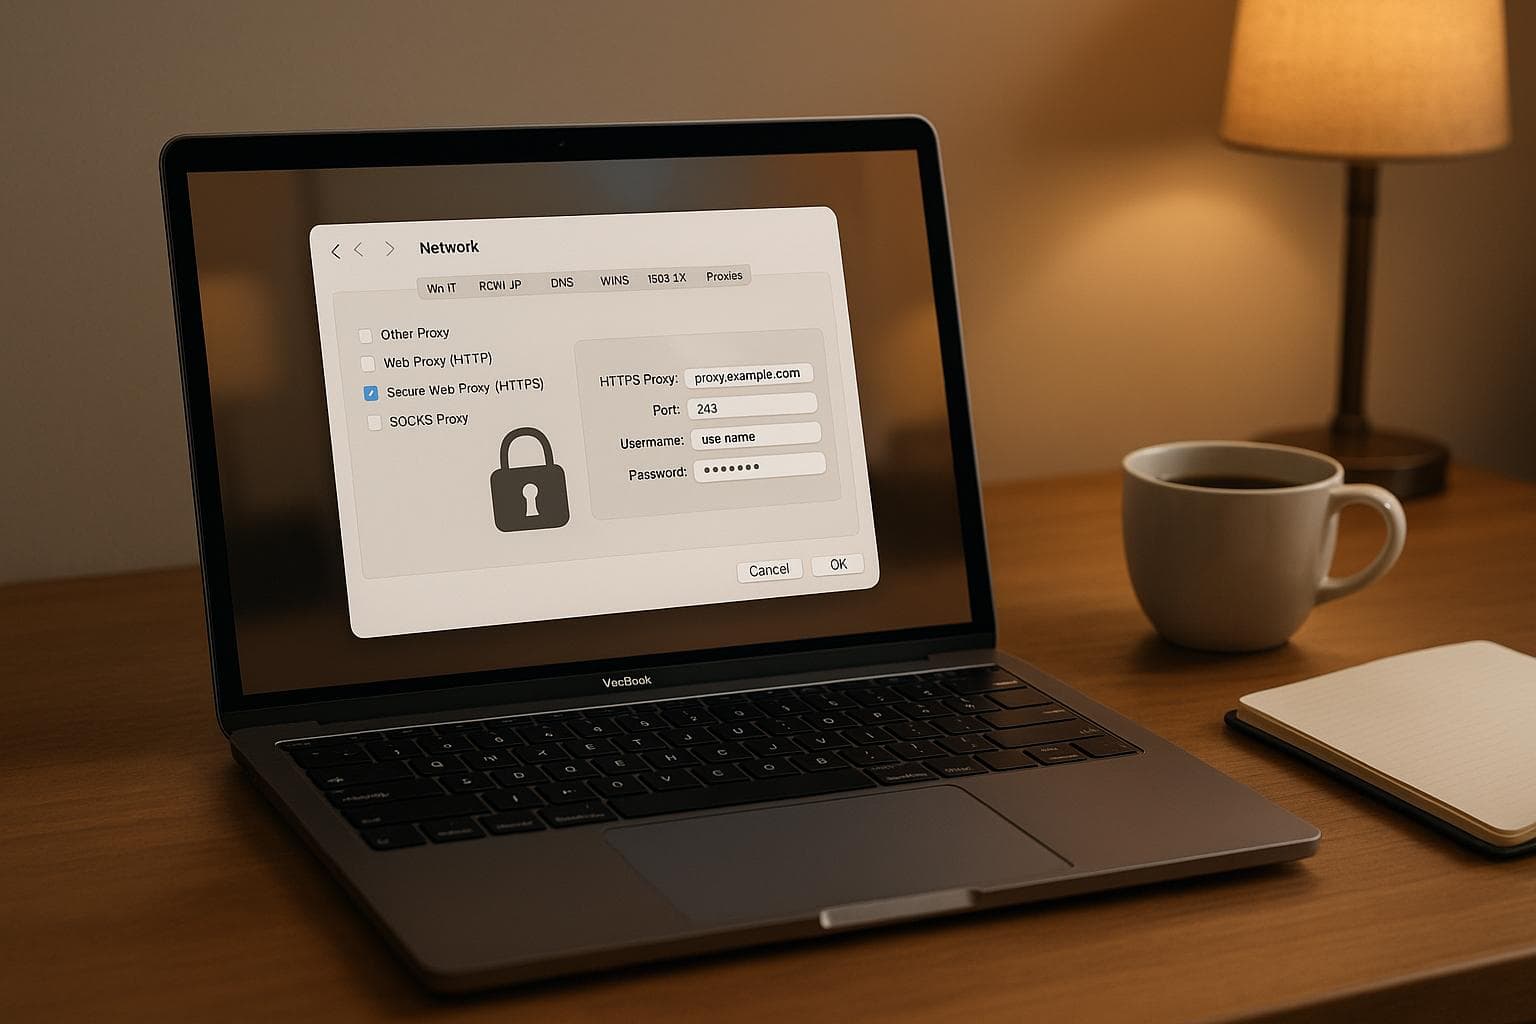
Configuring Proxies via Network Preferences
To set up a proxy using macOS Network Preferences, follow these steps:
- Open System Settings > Network from the Apple menu.
- Select your active network connection (Wi-Fi or Ethernet) and click Details.
- In the Network Preferences window, go to the Proxies tab.
- Check the box for Secure Web Proxy (HTTPS) and input your proxy server's address and port number (commonly 8080, 3128, or 8443).
If your proxy requires authentication, check the box for Proxy server requires password and enter your credentials. These will be securely stored in your macOS keychain. Once done, click OK to save your changes.
Using Terminal Commands for Proxy Setup
For more advanced users or bulk configurations, macOS allows proxy setup via Terminal. Start by identifying your network service name:
networksetup -listallnetworkservices
Then, configure the HTTPS proxy for your specific service:
networksetup -setsecurewebproxy "Wi-Fi" proxy.example.com 8080
If the proxy requires authentication, include your username and password:
networksetup -setsecurewebproxy "Wi-Fi" proxy.example.com 8080 authenticated myuser mypassword
To activate the proxy settings and confirm they’re applied, use these commands:
networksetup -setsecurewebproxystate "Wi-Fi" on
networksetup -getsecurewebproxy "Wi-Fi"
For apps that bypass system-wide proxy settings, define the environment variable:
export https_proxy=https://proxy.example.com:8080
To make this setting permanent, add the command to your shell configuration file (e.g., ~/.bash_profile or ~/.zshrc).
Setting Proxy Exceptions for Local Domains
Not all traffic needs to go through the proxy. You can set exceptions for local or internal domains. In the Network Preferences proxy configuration, look for the Bypass proxy settings for these Hosts & Domains field. Add entries like:
localhostand127.0.0.1for local development192.168.1.0/24for local network resources.company.comfor internal domains10.0.0.0/8for private network ranges
For command-line applications, define the NO_PROXY environment variable:
export NO_PROXY="localhost,127.0.0.1,.example.com,192.168.1.0/24"
Be specific when listing exceptions to ensure only the intended traffic bypasses the proxy. Properly configured proxy settings, combined with your SSL certificates, allow seamless HTTPS monitoring and management.
Installing and Trusting SSL Certificates on macOS
To ensure your HTTPS proxy works seamlessly, you’ll need to install and trust SSL certificates on macOS. Without proper installation, you’ll encounter security warnings, and the proxy won’t effectively manage encrypted traffic.
Importing Certificates into Keychain Access
On macOS, Keychain Access is the tool used to manage certificates. You can open it through Spotlight or by navigating to Applications > Utilities. Once open, choose the appropriate keychain based on your setup:
| Keychain | Purpose |
|---|---|
| login | For single-user devices where only one person consents to traffic inspection. |
| Local Items | Typically used for iCloud password storage - generally not relevant for proxy certificates. |
| System | For multi-user devices, ensuring all users can access the certificate. |
In most cases, the System keychain is the best choice for HTTPS proxy configurations. To import your certificate, simply drag the file into Keychain Access or use File > Import Items.
If your certificate is in PFX format (which includes the full certificate chain and private key), you’ll be prompted to enter the certificate’s password during the import process.
Modifying Trust Settings for Certificates
After importing, macOS won’t automatically trust the certificate. You’ll need to manually adjust the trust settings to avoid security warnings.
- Locate the imported certificate in Keychain Access. If necessary, use the search bar to find it by name or purpose.
- Double-click the certificate to open its details.
- In the Trust section, look for the dropdown menu labeled When using this certificate and select Always Trust.
- Close the certificate window. When prompted, enter your administrator password to save the changes.
Starting with macOS Big Sur, certificates require manual trust configuration. Without this step, your HTTPS proxy won’t function properly.
Fixing Certificate Trust Issues
Even after installation, you might run into trust-related problems. Here are a few troubleshooting tips:
- Check your system date and time: Incorrect system settings can make valid certificates appear expired or invalid. Sync your date and time in System Settings.
- Clear browser cache: In Safari, enable the Develop menu in Settings, then select Empty Caches to remove outdated data that might interfere with certificates.
- Reimport problematic certificates: If trust settings can’t be changed or issues persist, delete the certificate from the login keychain and reimport it. Be cautious not to delete certificates from the System Root keychain, as these are critical for macOS operations.
- Add missing root certificates: For custom certificate authorities or development certificates, you might need to download and import root certificates from trusted sources. Follow the same steps outlined earlier to add them to Keychain Access.
If you’re looking to avoid these manual steps, tools like ReqRes offer automated solutions, handling certificate generation, installation, and trust settings for you. This can save time and reduce errors.
Still having trouble? Double-check the web server’s certificate configuration or contact the site administrator to ensure the certificate authority is properly recognized by macOS.
Once your certificates are set up and trusted, test your HTTPS proxy to confirm everything is working as expected.
Testing HTTPS Proxy Functionality
Once you've installed and trusted your SSL certificates, the next step is to confirm that your HTTPS proxy is correctly intercepting and decrypting traffic. Testing ensures your setup is functioning as intended before diving into development or debugging tasks.
Testing with Command-Line Tools
Command-line tools like curl are great for testing HTTPS proxy functionality because they provide detailed feedback about the connection process. Start with a simple test to confirm that your proxy is intercepting traffic:
curl -v --proxy http://127.0.0.1:8080 https://httpbin.org/ip
Here, the -v flag enables verbose output, showing the entire handshake process, certificate validation, and response headers. This level of detail can help pinpoint any configuration issues in your proxy setup.
If you don’t see traffic being intercepted, you can try using wget as an alternative testing tool.
For Python applications, ensure proper certificate handling by setting the REQUESTS_CA_BUNDLE variable:
export REQUESTS_CA_BUNDLE=/path/to/certificate.pem
To confirm that your proxy is routing traffic correctly, run this command:
curl --proxy http://127.0.0.1:8080 https://api.ipify.org
The response should display the proxy's IP address rather than your actual IP, verifying that traffic is successfully routed through the proxy. Once these command-line tests confirm proper routing, you can move on to more detailed traffic monitoring with ReqRes.
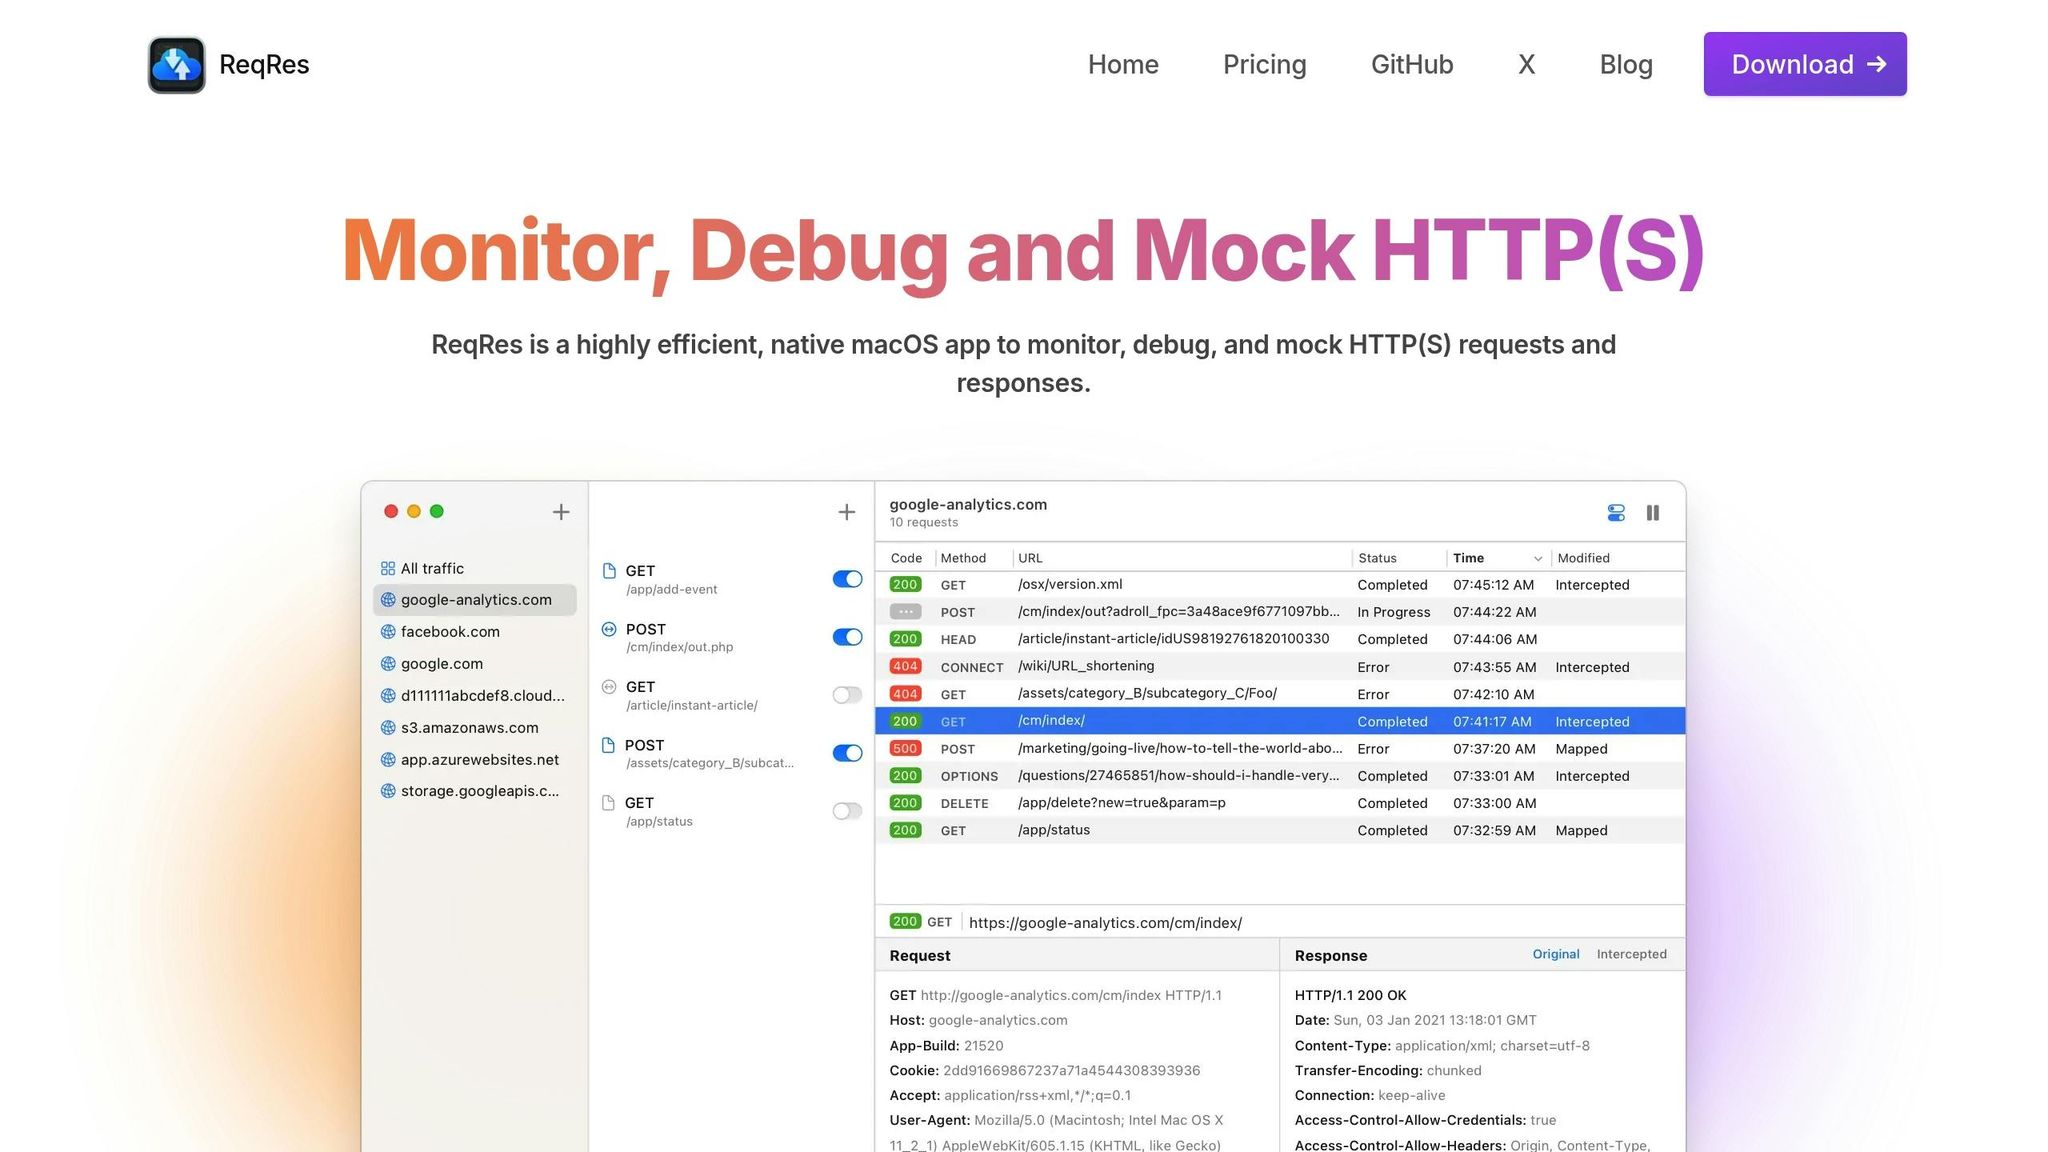
Monitoring Traffic with ReqRes
ReqRes makes HTTPS traffic monitoring easier by acting as a man-in-the-middle server. It captures traffic between your applications and SSL web servers while handling certificates automatically. Unlike command-line tools that only show the final response, ReqRes provides a live view of HTTP/HTTPS requests and responses.
With ReqRes, you can analyze the full request and response cycle, including headers, body content, and timing details. This real-time monitoring is particularly useful for debugging API integrations or web service communication.
For iOS developers, ReqRes streamlines the process by automatically inspecting network traffic in iOS Simulators without additional configuration. This feature saves time and simplifies the debugging process. If you encounter discrepancies during monitoring, check for common setup issues outlined below.
Fixing Common Setup Issues
Even with a correct configuration, some common problems may arise. One frequent issue is related to system proxy settings. Ensure that both HTTP and HTTPS proxies are enabled and pointing to the correct port. On macOS, these settings can sometimes reset after system updates, so double-check them if things stop working.
SSL pinning in certain apps, like those from Apple, can block traffic interception. If you encounter certificate validation errors, review your system proxy settings, firewall rules, and clear your browser cache.
"Proxy errors happen when your computer fails to access a website while you're using a proxy. HTTP codes reveal if it's a client-side or server issue." - Nimbleway.com
Rate limiting can also cause issues, such as 429 errors, if too many requests are sent from the same IP in a short period. To avoid this, introduce delays between requests or use proxy rotation to distribute traffic evenly.
Firewall settings might also interfere with your proxy connections. Ensure your firewall allows traffic on the ports used by your proxy. On macOS, the built-in firewall can sometimes block connections, especially when non-standard ports are involved.
If problems persist, try reimporting your certificates and verifying their trust settings. If none of these steps resolve the issue, reach out to your proxy provider, as some challenges may stem from server-side configurations beyond your control.
Conclusion
Setting up HTTPS proxies with SSL certificates on macOS provides a secure way to monitor and analyze network traffic. To get started, you can generate SSL certificates using tools like mkcert, OpenSSL, or ReqRes. Ensure these certificates are imported and marked as trusted in Keychain Access. Once that's done, configure your macOS proxy settings and add any necessary local exceptions. Finally, test your setup using tools like curl to verify everything is functioning correctly.
Once the technical groundwork is in place, ReqRes takes things further by automating SSL certificate management and offering real-time traffic monitoring. Unlike basic command-line tools that only show the final responses, ReqRes gives you a detailed look at the entire request-response cycle, including headers, body content, and timing information. For iOS developers, it even simplifies debugging by automatically inspecting network traffic in iOS Simulators - no extra configuration needed.
The advantages of a properly configured HTTPS proxy go beyond basic traffic monitoring. SSL proxies provide deeper insight into SSL/TLS traffic, making it easier to identify security vulnerabilities and manage certificates efficiently. This level of visibility is especially useful for organizations that need to decrypt and inspect encrypted traffic to address security threats, ensure compliance, or prevent data loss.
It's worth noting that newer macOS versions may require manual configuration to trust SSL certificates due to stricter security measures. To maintain a reliable and secure environment for traffic analysis and debugging, make sure to regularly update your proxy tools, certificates, and operating system.
FAQs
How do I make sure SSL certificates for my HTTPS proxy are trusted by all apps on macOS?
To make sure your SSL certificates are trusted across all macOS applications, you need to add them to the Keychain Access app and adjust their trust settings. Here’s how you can do it:
- Open the Keychain Access app on your Mac.
- Drag your SSL certificate file and drop it into the app’s window.
- Locate the certificate in the list, then double-click it to open its details.
- In the Trust section, set the relevant usage (like SSL) to Always Trust.
- Close the settings window and confirm any prompts to save the changes.
Once these steps are done, your SSL certificate will be trusted by all macOS apps that rely on the Keychain for SSL validation.
What security risks come with using HTTPS proxies on macOS, and how can I stay protected?
Using HTTPS proxies on macOS comes with certain security risks. One of the most serious threats is the possibility of man-in-the-middle (MitM) attacks, where an attacker intercepts and potentially alters the communication between your device and a web server. If the proxy you're using is either malicious or poorly secured, sensitive information like your passwords or personal details could be at risk. Even worse, compromised proxies might redirect your traffic to harmful sites or involve your connection in illegal activities without your knowledge.
To protect yourself, it's important to stick with trusted, secure proxies. Keep your macOS system updated to ensure you're running the latest security patches, and stay vigilant by monitoring your network traffic for anything unusual. For an extra layer of protection, consider using a reputable antivirus program that includes network traffic monitoring. These precautions can go a long way in safeguarding your data and reducing potential vulnerabilities.
Can I configure an HTTPS proxy on macOS to exclude specific domains or IP addresses?
If you're using macOS, you can set up an HTTPS proxy and even specify domains or IP addresses to bypass it. Here's how:
- Open System Preferences and go to Network.
- Select your active network connection and click Details.
- Navigate to the Proxies tab.
- Check the box for Bypass proxy settings for these Hosts and Domains.
- Enter the domains or IP addresses you'd like to exclude from the proxy.
This setup ensures that traffic to the specified domains or IPs is routed directly, giving you more control over your network connections.