
Understanding Man-in-the-Middle Proxies for macOS Developers
Man-in-the-Middle (MITM) proxies are powerful tools that help macOS developers debug, test, and optimize apps that rely on web services. They intercept and analyze HTTP(S) traffic between your app and its servers, offering deep insights into how data flows. Here's why they matter and how they work:
-
Why Use MITM Proxies?
- Debug API integrations
- Analyze network traffic
- Test edge cases and simulate server conditions
- Identify security vulnerabilities
- How They Work:
-
Key Features:
- Inspect headers, parameters, cookies, and status codes
- Mock API responses for testing without external dependencies
- Simulate slow networks or server errors
Quick Setup: Install tools like mitmproxy via Homebrew, configure certificates for HTTPS interception, and route traffic through the proxy by adjusting macOS or device settings.
MITM proxies are essential for building secure, efficient, and reliable macOS apps.
Common Use Cases for Man-in-the-Middle Proxies
Man-in-the-Middle (MITM) proxies are indispensable tools for macOS developers, offering deep insight and control over network traffic. By understanding their practical applications, you can integrate them seamlessly into your development workflow.
Inspecting HTTP(S) Traffic
MITM proxies provide a window into the HTTP(S) communication between macOS apps and servers, making them essential for debugging API integrations and resolving network issues. By routing your app's traffic through a proxy, you gain access to detailed information about requests and responses, including headers, parameters, bodies, cookies, and status codes - all displayed in plain text.
These tools also come equipped with advanced features like filters and breakpoints. Filters help you zero in on specific endpoints, request types, or response codes, cutting through the clutter of unrelated traffic. Breakpoints, on the other hand, let you pause and edit requests or responses in real time, offering unparalleled control during debugging.
For developers working with intricate APIs, scripting capabilities are a game-changer. By writing custom JavaScript, you can automate the modification of requests and responses, saving time when testing multiple scenarios or applying consistent changes. This level of traffic inspection is invaluable for thorough API testing and troubleshooting.
API Testing and Validation
Beyond inspection, MITM proxies shine in testing and validating API integrations. They allow you to manipulate the communication flow, ensuring your macOS app handles various API responses correctly - even edge cases that are tough to replicate in standard testing environments.
Interactive tools make it easy to tweak API responses on the fly. You can experiment with response structures, verify data integrity, and confirm that your app processes returned information as expected. For example, altering a successful API response to include missing fields or incorrect data types can reveal how your app handles errors. You can also simulate slow network conditions by delaying responses, ensuring your app manages timeouts gracefully.
MITM proxies also play a crucial role in security validation. By monitoring traffic for anomalies and checking SSL/TLS certificate handling, you can identify vulnerabilities before they become serious issues in production.
When testing requires complete control over responses, mocking APIs becomes a powerful option.
Mocking Endpoints and Simulating Responses
MITM proxies enable you to mock APIs and simulate server responses, removing the need for external dependencies during development. This control over your testing environment can drastically speed up the development process.
Many proxy tools include "map local" features, which let you replace live API responses with pre-defined local files. This approach eliminates the wait for actual API calls, allowing you to serve responses instantly and test your app's behavior in various scenarios.
Mocking is particularly useful for error testing. You can simulate specific error codes - such as 400 (Bad Request), 401 (Unauthorized), 404 (Not Found), or 500 (Internal Server Error) - to ensure your app handles these situations appropriately. It also lets you test business logic scenarios that are hard to reproduce in real-world conditions. For instance, modifying a response to show an out-of-stock item or introducing delays to simulate slow networks can help verify your app's error handling, loading states, and timeout management.
Setting Up MITM Proxies on macOS
Getting a MITM (Man-in-the-Middle) proxy running on macOS requires careful steps for installation, certificate setup, and device configuration. By following the outlined process, you can ensure a smooth setup for your development and debugging tasks.
Installing MITM Proxy Tools on macOS
To install mitmproxy on macOS, use Homebrew with the following command:
brew install --cask mitmproxy
This installs the full mitmproxy suite, including the command-line interface and the web-based dashboard. You can start mitmproxy directly from the Terminal:
mitmproxy
If you need to use a custom port, specify it like this:
mitmproxy -p 8090
To access the browser-based dashboard, run:
mitmweb
Then, open your browser and go to http://localhost:8081 to control and monitor traffic.
For those who prefer not to use Homebrew, standalone binaries are available for download at mitmproxy.org. Once installed, proceed to configure certificates to handle HTTPS traffic.
Configuring Certificates for HTTPS Interception
To intercept HTTPS traffic without triggering security warnings, you need to configure certificates. When mitmproxy runs for the first time, it generates a Certificate Authority (CA) certificate. This certificate allows mitmproxy to decrypt encrypted traffic, provided the client trusts it.
Start mitmproxy and configure your device to use its proxy settings. Then, open any browser and visit:
mitm.it
This URL automatically provides the correct certificate for your operating system. Alternatively, you can manually install the certificate from the following location:
~/.mitmproxy/mitmproxy-ca-cert.pem
Use Keychain Access to install the certificate. After adding it, double-click the certificate entry, and set the "Secure Sockets Layer" option to "Always Trust."
When you’re done debugging, remove the certificate from your keychain for security purposes. Keep in mind that some apps use Certificate Pinning, which blocks mitmproxy’s certificates. In such cases, you may need alternative debugging methods.
Once the certificate is trusted, you can configure your devices to route traffic through the proxy.
Setting Up Devices to Route Traffic Through Proxies
To capture traffic, you’ll need to adjust network settings on your macOS system or other devices. Here’s how:
For macOS applications, update your system's network proxy settings:
- Open System Preferences and go to Network.
- Select your active connection, click Advanced, and navigate to the Proxies tab.
- Enable Web Proxy (HTTP) and Secure Web Proxy (HTTPS), setting both to
localhost:8080(or the port you’re using).
For testing on iOS devices, ensure your Mac and the mobile device are on the same Wi-Fi network. Then:
- Go to Settings > Wi‑Fi on your iOS device, tap the information icon next to your network, and scroll to the HTTP Proxy section.
- Choose Manual and enter your Mac’s IP address along with port
8080. - Enable full trust for the mitmproxy certificate by navigating to Settings > General > About > Certificate Trust Settings and toggling the trust option.
If you don’t see traffic in mitmproxy, double-check your proxy settings and confirm that both devices are connected to the same network. For more details about incoming requests, start mitmproxy with the --showhost argument.
In cases where standard proxy configurations don’t work, you can explore alternative methods like WireGuard or local capture mode for simpler routing. Always test your setup with basic HTTP requests before moving on to more complex HTTPS traffic to ensure certificates are trusted and the proxy is functioning correctly.
ReqRes: A Native macOS MITM Proxy Solution
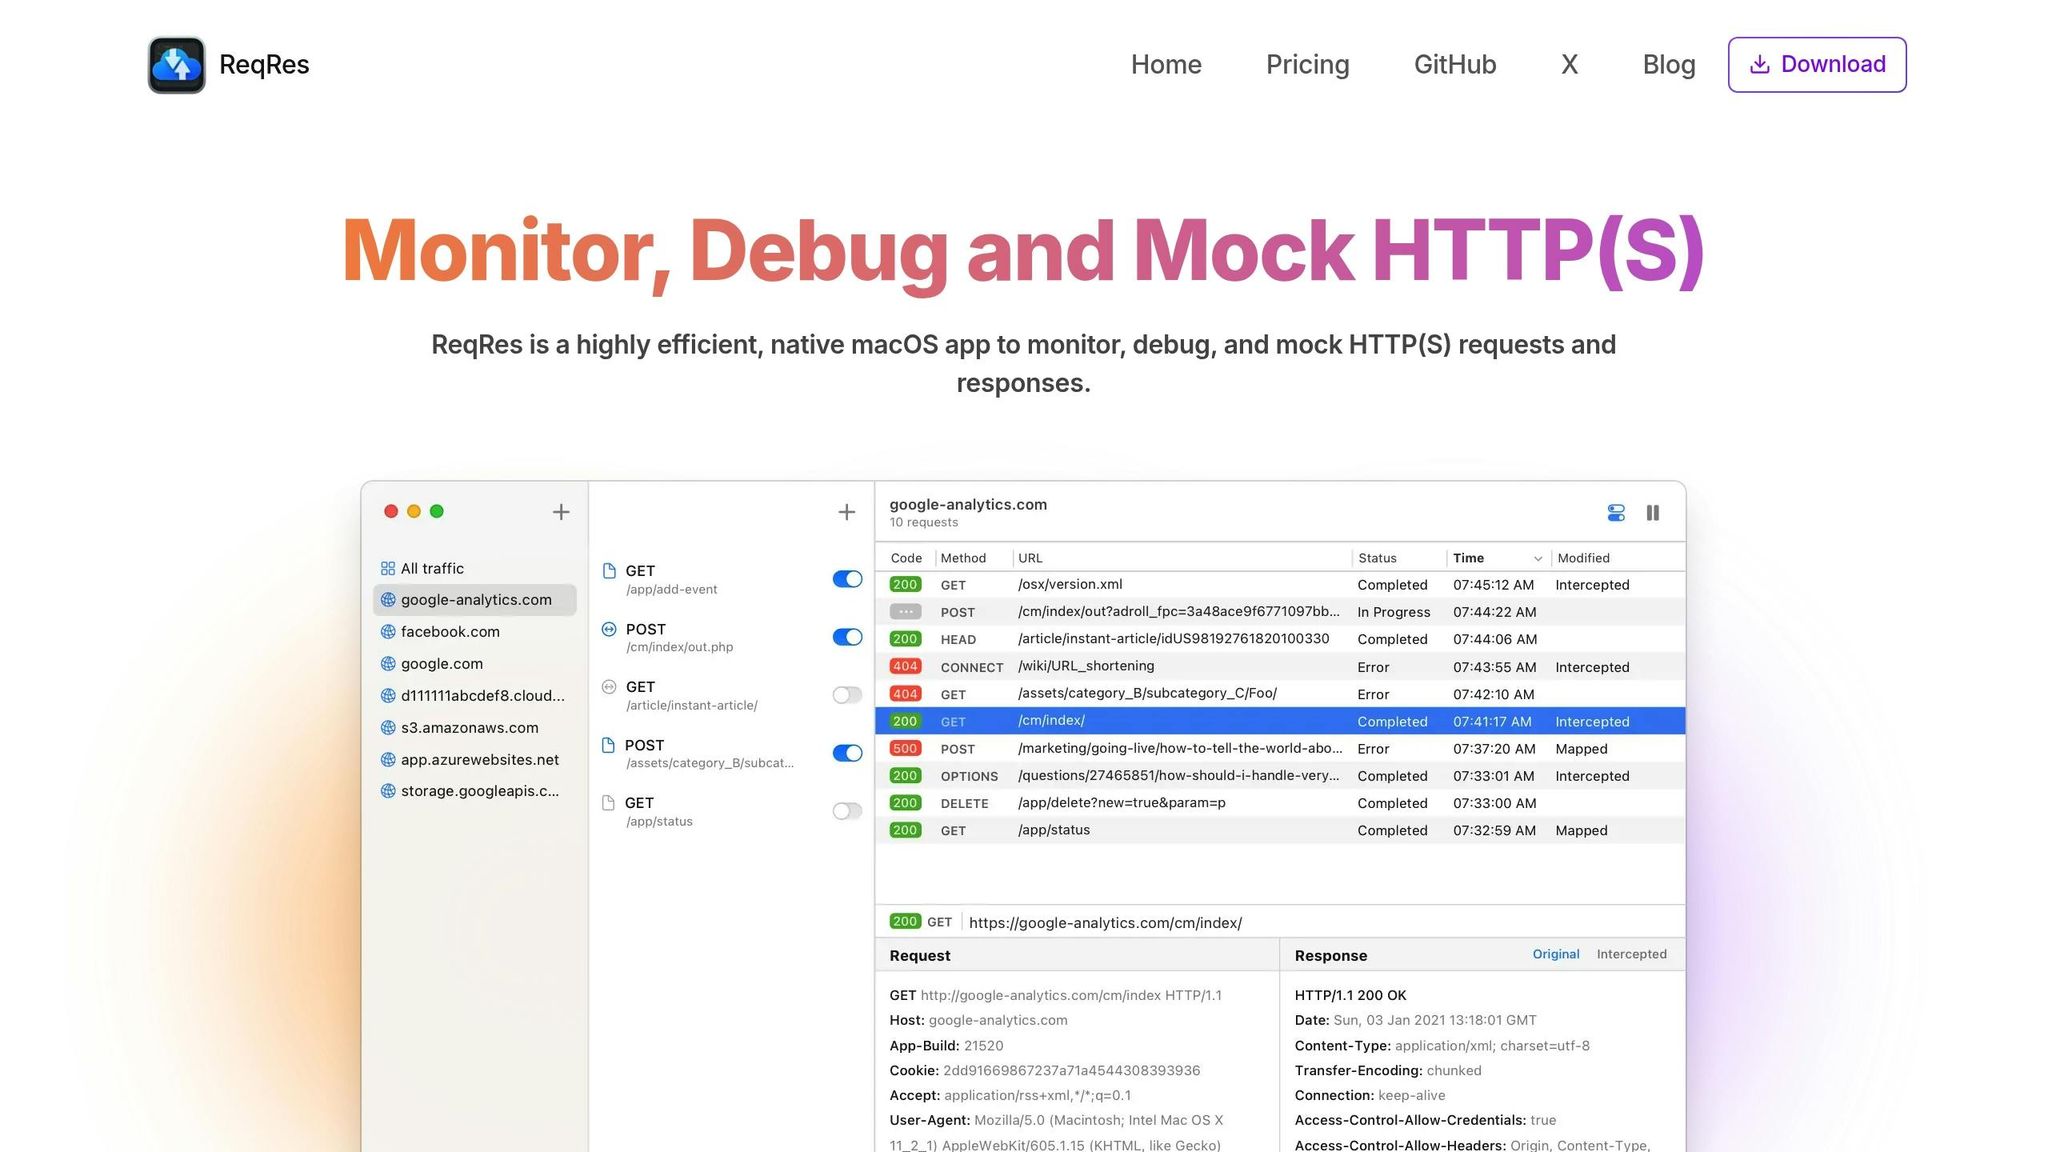
ReqRes is a macOS-native tool built to simplify HTTP(S) traffic monitoring, debugging, and mocking. Unlike traditional MITM proxies that often require complex terminal-based setups, ReqRes integrates seamlessly into your macOS workflow, making it an easy-to-use solution for developers.
With ReqRes, there’s no need for multi-step configurations. It offers one-click traffic inspection, handling certificate and network settings automatically. This not only saves time but also allows developers to quickly jump between debugging sessions or manage multiple projects without hassle.
Designed with web developers, API testers, and network engineers in mind, ReqRes brings reliable traffic analysis directly to macOS.
Key Features of ReqRes
ReqRes combines its straightforward setup with a range of robust features that make debugging more efficient:
- Request and Response Interception: Modify HTTP(S) traffic on the fly, including headers, status codes, and response bodies. This is especially useful for testing different server responses during development.
- Detailed Inspection Interface: Dive deep into captured traffic with a clear view of headers, HTTP methods, status codes, and payloads - all in one place. No need to sift through terminal output or switch between views.
- Session Management: Easily filter and search through captured sessions, even when dealing with high traffic volumes. The integrated search bar helps you quickly locate specific requests or responses.
- Image Preview: For developers working on media-heavy applications, ReqRes lets you view image responses directly within the app.
- Session Export: Share captured traffic in various formats, making collaboration and analysis simple.
Pricing and Plans
ReqRes offers flexible pricing plans to suit individual developers and teams:
| Plan | Price | Devices | Annual Fee | Benefits |
|---|---|---|---|---|
| Single Device | $59.99 | 1 | $14.99/year | Full features, 1 year of updates and support. |
| Two Devices | $69.99 | 2 | $24.99/year | 30% discount, ideal for using both a laptop and desktop. |
| Team Plan | $149.99 | Up to 5 | $24.99/year | Additional devices at $5 each, great for team collaboration. |
The Single Device plan is perfect for developers working on one machine. It costs $59.99, with an optional annual renewal fee of $14.99 for ongoing updates and support.
The Two Devices plan, priced at $69.99 (down from $99.99), is ideal for those using multiple devices, like a MacBook and an iMac, offering a 30% discount.
For teams, the Team Plan supports up to five devices for $149.99, with the option to add more devices at $5 each. This plan ensures teams have consistent access to advanced debugging tools while staying budget-friendly.
All plans include the full feature set, with no restrictions, and follow a straightforward one-time purchase model. Optional annual renewals keep costs predictable, making ReqRes a smart choice for developers and teams alike.
Best Practices and Security Considerations
Building on the setup guidance, it's crucial to follow best practices to ensure your MITM proxy workflow remains secure. These tools are incredibly useful for development, but they come with risks that require careful management. Knowing how to safeguard sensitive data, handle certificates properly, and troubleshoot common issues will help you maintain a safe and efficient development environment.
Protecting Sensitive Data
When debugging, it's essential to protect sensitive information. MITM proxies intercept and decrypt all traffic, including passwords, API keys, and personal data, so it's important to establish strict boundaries for their use.
- Use secure, controlled networks: Avoid running MITM proxies on public networks or shared computers where others could access intercepted traffic. Your development machine should be the primary environment, and the Certificate Authority (CA) certificate should only be installed on devices you control.
- Restrict usage to authorized environments: Only use MITM proxies in secure, authorized settings, especially when working with applications that handle user data or interact with third-party APIs.
- Avoid production traffic: Limit proxy use to development and staging environments. Routing production traffic through these tools can introduce security risks and impact performance.
By adhering to these practices, you reduce the chances of exposing sensitive data unnecessarily.
Certificate Management and Cleanup
Managing certificates correctly is a key part of maintaining security while using MITM proxies. These tools generate SSL certificates on the fly to intercept and decrypt HTTPS traffic, requiring your system to trust a custom Certificate Authority.
- Install certificates properly: Copy the CA certificate to your desktop, open it using Keychain Access, and set the trust level to "Always Trust."
- Remove certificates after use: Once debugging is complete, delete the installed certificates to minimize vulnerabilities. Keeping these certificates installed permanently can create security risks.
- Handle expirations and updates: Regularly delete outdated CA files and restart the proxy to ensure smooth operation. Never share the CA certificate or its private key, and avoid storing them in version control systems.
Proper certificate management ensures your system remains secure even while using these powerful debugging tools.
Troubleshooting Common Issues
Even with a secure setup, you may encounter some common problems. Understanding these issues and their solutions can save you time and frustration.
- Missing traffic flows: If traffic isn't showing up, uninstall outdated redirector apps. Go to System Settings > General > Login Items & Extensions, locate the Network Extension section, and remove the Mitmproxy Redirector extension before reinstalling it.
- Certificate trust problems: Check the proxy's root certificate in Keychain Access. Ensure it appears in the System keychain and is set to "Always Trust."
- Proxy configuration conflicts: Verify that environment variables (
http_proxy,https_proxy) correctly reference your proxy's address and port. Tools like Wireshark can help confirm traffic routing. - Network connectivity issues: Make sure all devices used for debugging are connected to the same Wi-Fi network as your MITM proxy. For mobile debugging, double-check that the device's proxy settings correctly point to your Mac's IP address and port.
- Verbose logging: Enable verbose logging to quickly identify persistent issues.
- Application-specific challenges: Some apps use certificate pinning or similar security measures to block MITM interception. If certain apps don't show traffic in your proxy, this may be intentional and not a configuration error.
Conclusion
Man-in-the-Middle (MITM) proxies have become indispensable for macOS developers aiming to refine, test, and debug their applications' network behavior. These tools intercept and analyze HTTP(S) traffic in real time, making it possible to debug API responses, verify data integrity, and simulate various server conditions. Whether you're troubleshooting sluggish API calls or testing how your app handles different server scenarios, MITM proxies offer the visibility needed to build secure and efficient applications.
The usefulness of these tools goes beyond basic debugging tasks, with industry applications showcasing their versatility.
ReqRes stands out as a native macOS solution that consolidates multiple debugging functionalities into one user-friendly platform. Trusted by over 300,000 developers, ReqRes simplifies the debugging process with features like real-time traffic monitoring, response mocking, and in-depth traffic inspection - all within a single interface. It eliminates the complexity often associated with traditional debugging tools, making it easier to focus on improving your application.
However, while tools like ReqRes make debugging more accessible, maintaining a secure development workflow is critical. Since these tools handle sensitive data, proper certificate management, controlled usage environments, and regular cleanup practices are essential to ensure security. By following these precautions, MITM proxies can enhance your productivity without compromising safety.
For macOS developers, ReqRes offers a seamless way to optimize the debugging process while adhering to security best practices. Its robust features, native macOS integration, and ease of use make it a must-have tool for anyone serious about creating high-quality applications.
FAQs
How can Man-in-the-Middle proxies help macOS developers improve application security?
Man-in-the-Middle (MITM) proxies are essential tools for macOS developers aiming to improve application security. They let you intercept, inspect, and even tweak network traffic, making it possible to uncover issues like unsecured data transfers, missing security headers, or flawed SSL setups.
By replicating various network conditions and examining HTTP(S) requests in real time, you can see how your app reacts to potential threats. This hands-on testing helps you build a more secure application and ensures it meets stringent security requirements, boosting your confidence in its reliability.
How can I safely use Man-in-the-Middle (MITM) proxies without risking sensitive data?
To use MITM proxies securely while safeguarding sensitive data, keep these practices in mind:
- Use encryption: Stick to secure protocols like HTTPS or TLS to protect data during transmission and prevent unauthorized access.
- Verify connections: Implement strong authentication methods to confirm the identity of all parties, ensuring data is exchanged only with trusted entities.
- Keep an eye on activity: Regularly monitor your network for unusual traffic or unknown devices, which could signal potential security threats.
By following these steps, you can make the most of MITM proxies without compromising sensitive information.
Can I use a Man-in-the-Middle (MITM) proxy to test iOS apps? How do I set it up?
Yes, you can use a Man-in-the-Middle (MITM) proxy to test iOS applications. These tools are incredibly helpful for inspecting and debugging network traffic from your mobile apps. Here’s a quick guide to get started:
- Install a MITM proxy tool: Download and set up a tool like mitmproxy or Charles Proxy on your macOS. Ensure it’s running and ready to accept connections.
- Connect your devices: Make sure your iOS device is connected to the same Wi-Fi network as your macOS machine.
- Configure the proxy on your iOS device: On your iPhone or iPad, navigate to Settings > Wi-Fi, tap the
(i)icon next to your network, and manually enter your macOS IP address and the proxy’s port (commonly 8080). - Set up for HTTPS traffic: If you need to debug HTTPS traffic, you’ll need to install the proxy’s SSL certificate on your iOS device. Open Safari on your iOS device, visit the proxy’s certificate page (e.g.,
http://mitm.itfor mitmproxy), download the certificate, and then enable full trust for it under Settings > General > About > Certificate Trust Settings.
Once everything is configured, you’ll be able to monitor and debug API calls made by your app directly through the proxy. It’s a powerful way to troubleshoot and optimize your app’s network behavior.